How to Make a Simple Kite
மூலம்: creator
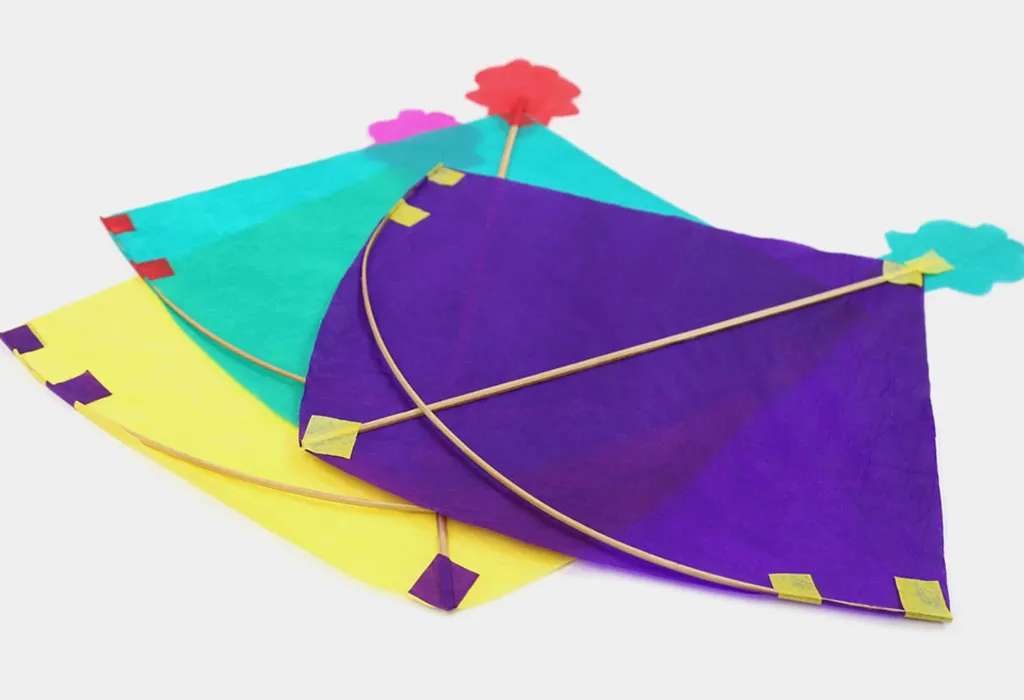
Flying a kite has always been a symbol of freedom and fun. While most people buy ready-made kites, there’s a special joy in making one with your own hands. The best part? You don’t need expensive materials—just a little creativity. One of the easiest and lightest materials you can use is hotel plate paper. Its thinness and light weight make it perfect for catching the wind.
What You Need
1 sheet of hotel plate paper (or any lightweight paper)
Two thin sticks (bamboo or any straight, light wood)
Thread or strong string
Glue or tape
Scissors
Steps to Make Your Kite
1. Prepare the frame. Take two sticks—one slightly longer for the vertical spine and a shorter one for the horizontal crossbar. Tie them together in a “+” shape using thread.
2. Cut the paper. Place the frame on the hotel plate paper and cut the paper slightly larger than the frame.
3. Attach the paper. Fold the paper edges over the sticks and glue or tape them down securely. This forms the body of your kite.
4. Add the flying string. Tie a strong string to the point where the two sticks cross. This will be the main control line for flying.
5. Make the tail (optional). For better balance, attach a strip of paper or cloth as a tail at the bottom of the kite.
6. Let it fly! Take it outside on a breezy day, run a little, and let your kite rise into the sky.
Why Hotel Plate Paper Works Best
Kite-making is all about balance—weight and thickness matter more than the type of paper. Hotel plate paper is light enough to lift easily in the air, yet strong enough not to tear quickly. But if you don’t have it, any lightweight, thin paper will work.
Final Thoughts
Making your own kite isn’t just about flying—it’s about the experience of creating something simple yet magical. The next time you see a clear blue sky, grab your handmade kite and let it dance with the wind.
பார்வைகள்: 3அனைத்து கருத்துகளையும் காட்டு
கருத்துகள்
உங்கள் எண்ணங்களை இடுகையிடவும்